Sunday, July 27, 2014
How to Set Up DFS Replication in Windows Server 2012 R2
DFS Replication is an effective way to replicate data between servers across a room or on the other side of the world. DFS Replication uses remote differential compression (RDC) to replicate only the changes in a file on a block by block basis instead of replicating the entire file. Consequently, replication is very efficient even across limited bandwidth connections.
Before setting up replication between servers, the DFS Replication roles need to be installed on each server that is going to participate in the replication group.
Installing the DFS Replication Role
Open Server Manger by clicking on the Server Manager icon on the task bar
On the Welcome Tile, under Quick Start, click on Add roles and features to start the Add Roles and Features Wizard. If there's no Welcome Tile, it might be hidden. Click View on the menu bar and click Show Welcome Tile.
Read and click Next.
Select Roll-based or feature-based installation and click Next.
Select Select a server from the server pool and select the server on which you want to install DFS Replication. Click Next.
Under Roles, expand File and Storage Services, expand File and iSCSI Services, select DFS Replication and click Next.
If you have not already installed the features required for DFS Replication, the following box will pop up explaining which features and roles will be installed along with DFS Replication.
Click Add Features.
Back to the Select server roles dialog. It should now show DFS Replication as checked along with the other roles required for DFS Replication. If everything looks ok, click Next.
The Select features dialog shows the features that will be added along with the DFS Replication role. Click Next.
Review and confirm what's being installed and click Install.
Click Close when the installation completes.
Now that the DFS Replication role is installed, we can set up replication.
Configuring Replication Between Two Servers
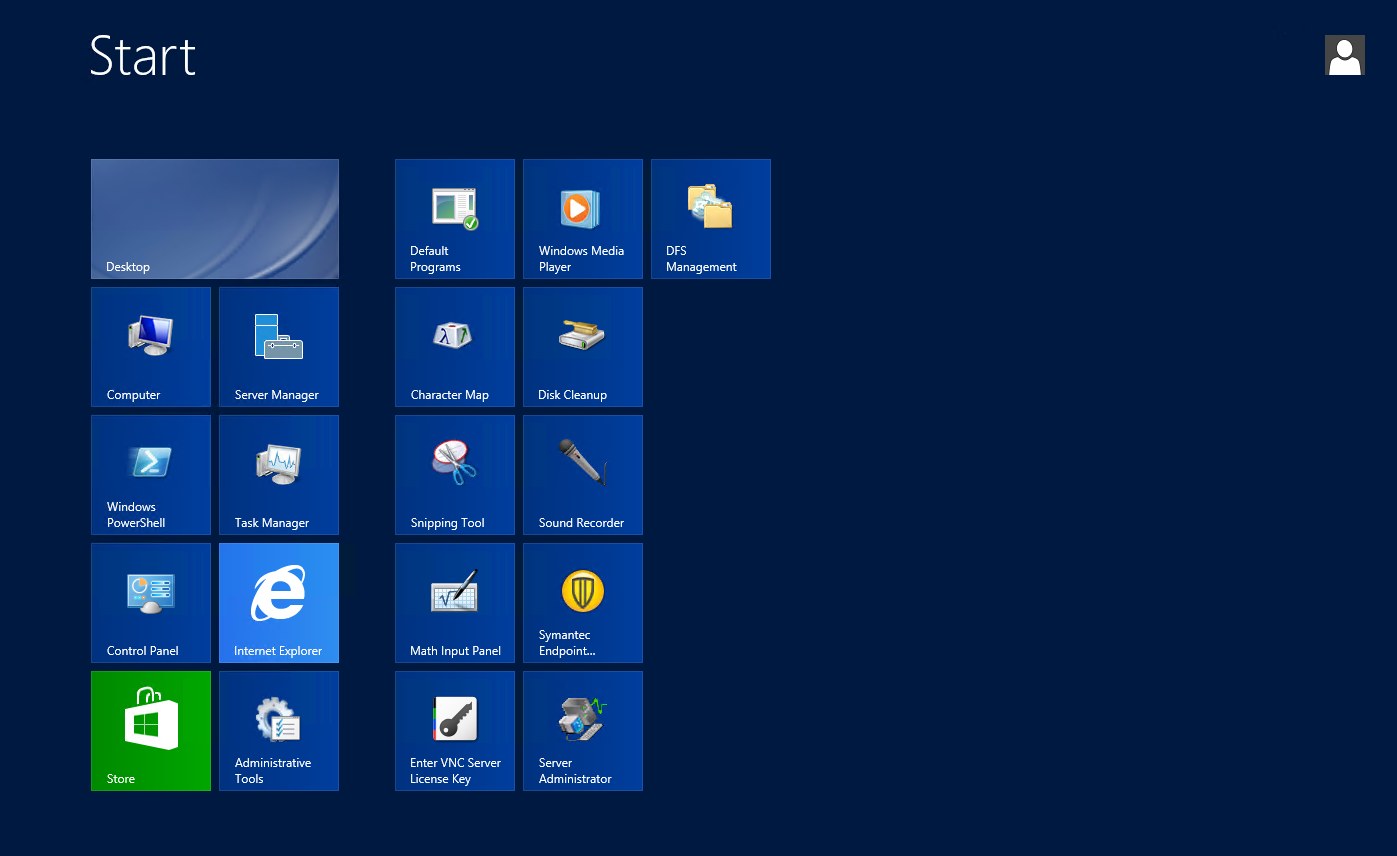
Go to the start menu.
Click on Administrative Tools.
Double click DFS Management to launch the DFS Management management console.
Right click on Replication in the left pane of the DFS Replication management console.
Select New Replication Group to launch the New Replication Group Wizard.
Click the Replication group for data collection radio button and click Next.
Enter a descriptive and unique name in the Name of replication group text box. By default the Domain box contains the domain name of the server you're working with. Enter a different domain name if necessary.
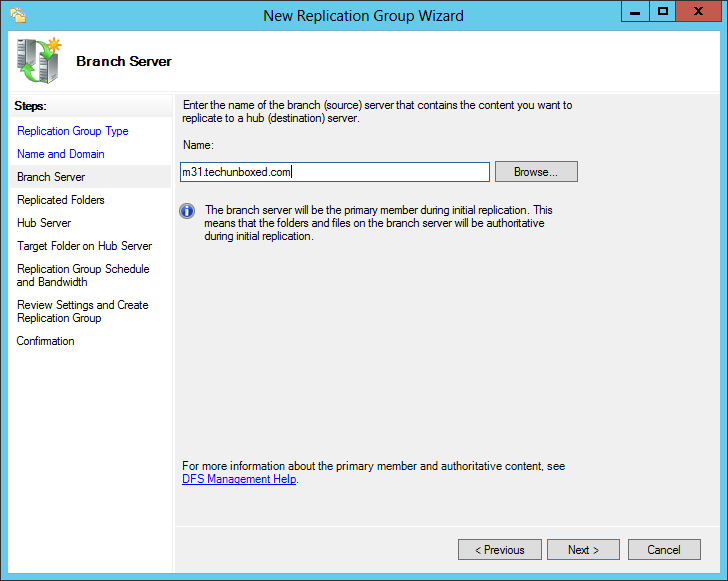
Enter the name of the server containing the data you wish to replicate in the Name text box and click Next.
Click Add to define the folders that contain the data you want to replicate.
Enter or browse to the path of a folder to replicate in the Local path of folder to replicate text box. You can enter a custom name to represent the folder or leave it set as the default. Click OK.
The folder just added should be in the Replicated folders box. Click Add to add more folders to replicate (folders can be added later). When all the folders are added, click Next.
Enter the name of the server that will be the target for the replicated data. Servers in replication groups must be in the same Active Directory domain. Click Next.
Enter or browse to the path on the destination server where the replicated data is to reside in the Target folder text box. Verify the replication flow in the Source and target locations box and click Next.
There are two methods of bandwidth utilization that DFS Replication can use.
The first is continuous replication. Where replication takes place 24/7. The amount of bandwidth that replication consumes can bet set to full or one of few selections.
The second method is to schedule replication. Scheduled replication can be set to not replicate data during certain times and/or days of the week or at full or limited bandwidths. Replication can be set to replicate at a lower bandwidth during business hours, when network utilization is high, and full bandwidth at night and weekends for example.
Replication bandwidth tuning can be broad with continuous replication or finely tuned by scheduling. It should not be needlessly complex. Try and keep it as simple as possible and only as complex as needed.
Once the replication bandwidth is set, click Next.
Review the replication group settings and click Create.
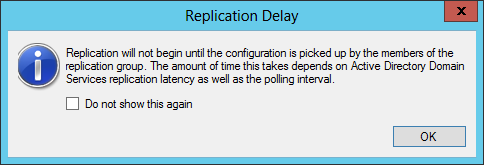
Read the dialog about replication delay and click OK.
Back in the DFS Management management console we see the newly created replication group. Replication will begin once the changes have been pushed to all the servers. Eventually, depending on bandwidth, etc., data will start showing up in the target folder on the destination server. Enjoy!
Labels:
DFS Replication,
Enterprise IT,
How-to,
Microsoft,
Server 2012,
Windows
Subscribe to:
Post Comments (Atom)


Awesome explanation
ReplyDeleteAgreed excellent, thank you.
ReplyDeletehelpfully..
ReplyDeleteGreat Explanation...Thanks
ReplyDeletenice
ReplyDeleteThanks for that information. I tested this in my lab and am trying to determine what role AD plays in this. After creating the Replication Group I found that it creates the following objects in AD:
ReplyDelete/System/DFSR-GlobalSettings//Content
/System/DFSR-GlobalSettings//Topology
What role do these play in the replication group from a supportability perspective? I am trying to determine any type of troubleshooting required that involves those objects? Thank you.
Hi, Thanks for the steps.
ReplyDeleteCouple of questions,
a) Is there any possible to force a Full Sync from One server to the other server ?
b) What happens if we we keep the connection status from remote/second server to the main/first server disabled and then few files got deleted from the second server ?
penis
Deletecould you please tell pe how to add different servers to the same active directory ???!!!!
ReplyDeletePromote the servers as backups in the same forest in case you never found your answer
DeleteExcellent and clear to understand.
ReplyDeletethank you so much! first DFS just worked!
ReplyDeleteVery Help full clear and right to the point i give all stars ;-)Just follow instructions and it works. TU
ReplyDeleteits very good technical inputs for beginners to understand easily.
ReplyDeleteThanks for the guide!
ReplyDelete